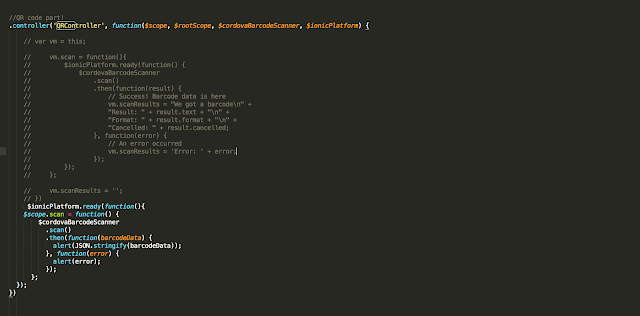
내 프로젝트에서 QRcode를 스캔하는 기능이 필요하여 그 기능을 추가했다. 간단하게 할 수 있다. 처음으로 콜도바 설치 후에 플러그인 설치 cordova plugin add https : / / github .com / wildabeast / BarcodeScanner .git 다음으로 index.html <script src = "js/ng-cordova.min.js" > </script> <script src = "cordova.js" > </script> 위의 내용을 추가해준다. app.js 수정 angular . controller('QRController', function($scope, $rootScope, $cordovaBarcodeScanner, $ionicPlatform) { 2 3 4 5 6 7 8 9 10 11 12 13 $ionicPlatform.ready(function(){ $scope.scan = function() { $cordovaBarcodeScanner .scan() .then(function(barcodeData) { alert(JSON.stringify(barcodeData)); }, function(error) { alert(error); }); }; }); }) 만들고 싶은 곳에 버튼 생성 2 3 4 5 6 7 8 9 10 11 12 13 <ion-content style="background: #e8ebf1;" class="padding" ...

